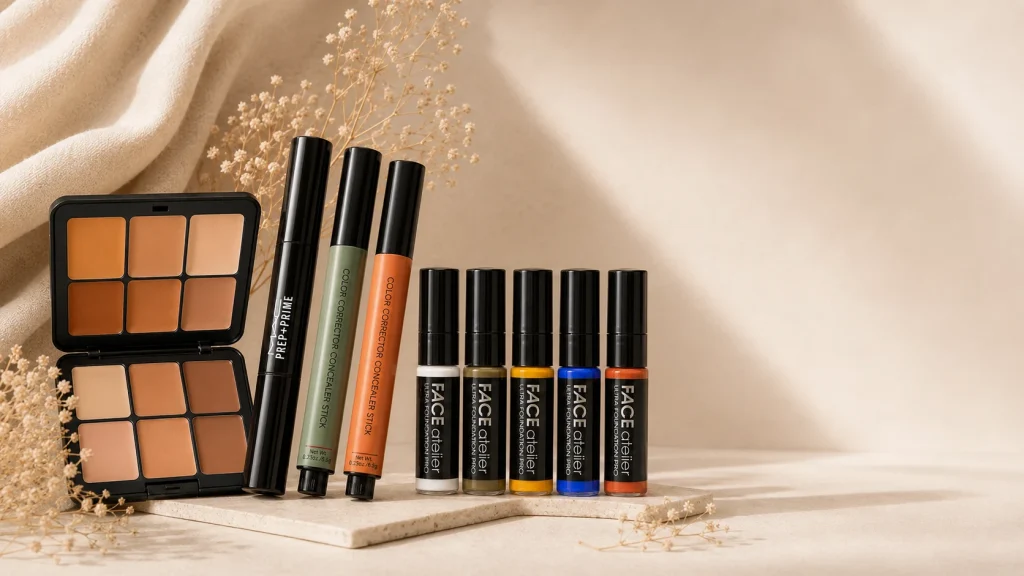
One of the most common mistakes in makeup is trying to cover every concern with concealer. Under-eye circles, redness around the nose, blemishes, rosacea, discoloration - in a lot of cases the concealer isn’t the problem. The problem is that we skipped the step before it.
That’s the corrector’s job. Contrary to what most people assume, a corrector isn’t there to cover anything on its own. It neutralizes discoloration in the skin so the concealer or foundation over it can work more efficiently. Get the corrector right and you’ll usually need less concealer, land a more natural finish, and cut the odds of makeup looking heavy or settling into fine lines.
Years of brides, productions, and photo shoots have taught me there’s no “one corrector that suits everyone.” The right choice depends on the concern, your skin tone, how deep the discoloration runs, and the formula you’re working with. This guide covers how correctors work, what each color does, when to reach for one, and how to choose the right product for you.
What is a corrector, and what’s the difference between it and a concealer?
A corrector is a makeup product designed to neutralize discoloration in the skin before the coverage step. Where a concealer covers and blends into your skin tone, a corrector works on the principles of color theory instead. Each shade is built to balance out a specific color in the skin, so the area reads more neutral before concealer or foundation goes over it.
Think of the corrector as the prep step for coverage. Instead of burying blue darkness under a thick layer of concealer, you neutralize the blue first, and the concealer has much less work left to do.
| Corrector | Concealer |
|---|---|
| Neutralizes discoloration | Covers and evens out skin tone |
| Comes in correction shades like green, orange, peach, yellow, or lavender | Comes in shades close to your skin tone |
| Used before concealer | Used after the corrector, or on its own when no color correction is needed |
| Meant to reduce the appearance of darkness, redness, or discoloration | Meant to create even, natural coverage |
Put simply: a corrector handles color, a concealer handles coverage. Once that distinction clicks, choosing products gets easier and you end up using less of everything.
Do you have to use a corrector?
Not always. If there’s no significant darkness, redness, or discoloration to deal with, concealer or foundation on its own is plenty. But when there’s a clear color issue in front of you - blue circles under the eyes, redness from blemishes, visible broken capillaries - a corrector can improve the result in a way concealer alone won’t.
In my own work I almost always use one before covering under-eye circles, even if it’s a very small amount. With the discoloration neutralized, less concealer goes on, and the result looks more natural and holds up longer.
A corrector isn’t meant to cover the concern, it’s meant to neutralize it. If you can still see a bit of the darkness or redness after the corrector step, that’s completely normal. The concealer or foundation comes next, unifies the skin tone, and finishes the coverage.
How does color correcting work in makeup?
The first thing that throws people who are new to correctors is the color. Why would anyone want to put green on their face? Or orange under their eyes? The answer comes from a basic principle of color theory called color correcting.
Every color has an opposite on the color wheel. Put two opposites together in the right amount and they neutralize each other, leaving a more balanced result. So instead of covering discoloration with thick layers of foundation or concealer, you neutralize it first and add coverage afterward. That’s exactly why a corrector usually means less product on the skin and a more natural finish.
How the color wheel works
In general: green neutralizes red, orange neutralizes blue, yellow neutralizes purple, and lavender (light purple) neutralizes yellow tones. The color isn’t supposed to stay visible on the skin - it’s there to balance the discoloration before the coverage step.
Why not just add more concealer?
Let’s say the darkness under the eyes is blue. If you try to cover it with concealer alone, you’ll need more product than you want, and the result can be a heavy look, product settling into fine lines, less staying power, and sometimes even a grayish cast. A thin layer of orange or peach corrector neutralizes the blue from the start, and the concealer is left with nothing to do but even out the skin tone.
Less product = a better result
This might be the single most important point in the whole guide. A corrector isn’t there to add another layer of makeup - it’s there to let you wear less of it. Once the discoloration has been neutralized, there’s nothing left to fight with large amounts of concealer. That’s exactly why I almost always start with a corrector and only then move to concealer.
A common myth: “If I have a lot of redness, I need a lot of green”
No. The stronger the redness, the more corrector you need - that’s the assumption, and it’s wrong. Too much corrector is harder to blend, and it can throw off the shade of the concealer or foundation sitting on top of it. In most cases a thin, targeted layer is all it takes to balance the color.
Do you have to use every color?
Absolutely not. Most of us use only one or two correctors on any regular basis. Under-eye circles usually call for a peach, salmon, or orange shade, depending on how deep the darkness runs. Redness or rosacea usually calls for a green corrector. And anyone without significant discoloration may not need a corrector at all. The goal is to match the color to the concern, not to build a collection of correctors that will never get used.
My rule of thumb: I start with one question - “What color am I trying to neutralize?” Once that’s clear, the choice makes itself. I don’t pick a corrector by brand, I pick it by the discoloration in front of me, and only then choose the formula and the shade.
The corrector isn’t there to hide the concern, it’s there to stop it from fighting your concealer. Once the discoloration is neutralized, you can use less product, get more natural coverage, and improve the makeup’s staying power at the same time.
What does each color mean? How to choose the right corrector
Now that the theory is out of the way, let’s get to the correctors themselves. Each color has a different job, so the choice isn’t about the brand - it’s about the kind of discoloration you’re trying to neutralize. And it’s worth repeating that you don’t need all of them. Most of us end up reaching for one or two.
Peach corrector
Suits: light to moderate darkness, fair to medium skin, the under-eye area.
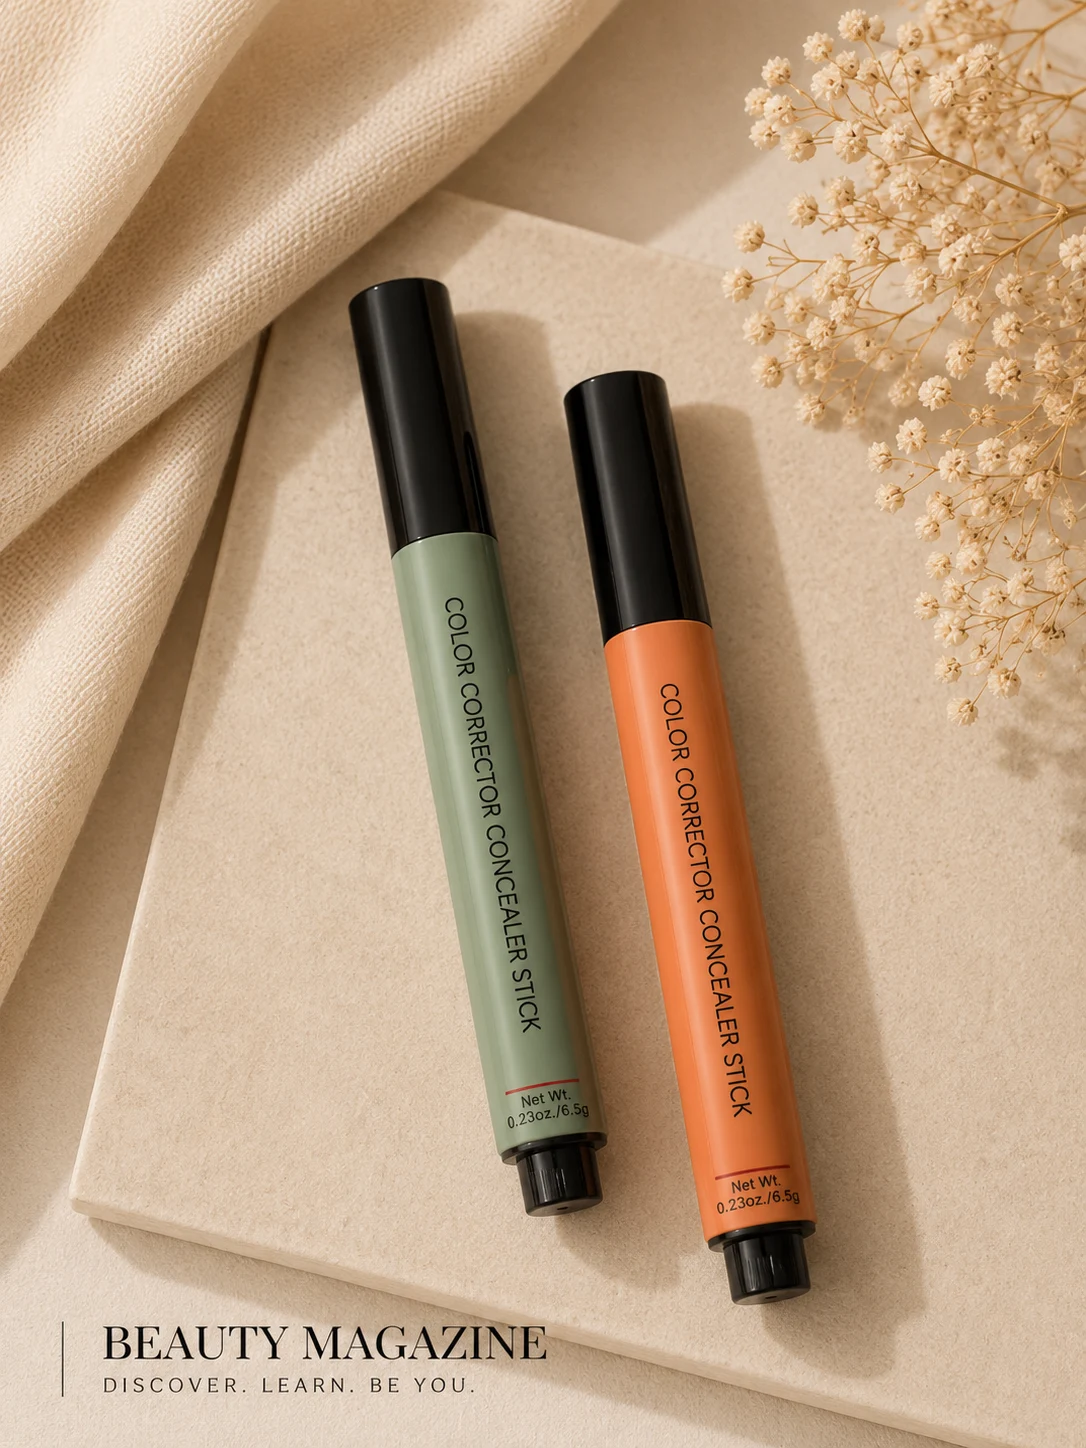
Peach is probably the corrector I use most. On fair to medium skin, under-eye circles usually aren’t deep enough to need a strong orange. Peach neutralizes more gently and lets the concealer blend naturally over it. It’s my first choice for everyday under-eye darkness.
When I choose peach: subtle blue darkness, fair skin, a natural look.
Salmon corrector
Suits: moderate darkness, fair to medium skin, anyone who needs a bit more neutralizing power than peach.
Peach and salmon get mixed up constantly. Both are for under-eye darkness, but salmon usually carries a little more pinkish-brown pigment, so it handles more noticeable darkness and still looks natural on fair skin. The difference between the two varies from brand to brand, so look at the actual shade rather than the name on the package.
When I choose salmon: slightly deeper darkness, when peach isn’t enough, fair to medium skin.
Orange corrector
Suits: deep darkness, deeper skin tones, significant blue pigmentation.
When darkness runs especially deep, peach or salmon won’t always be enough. Orange neutralizes blue and purple tones far more strongly. Use it in a precise amount, though - too much orange is hard to cover even with concealer.
When I choose orange: especially deep darkness, noticeable blue discoloration, medium to deep skin tones.
A common mistake: reaching for an orange corrector simply because the darkness is noticeable. On relatively fair skin, an orange that’s too deep stays visible even after concealer goes over it. Start with the gentler shade and build more coverage only if you truly need it.
Green corrector
Suits: redness, blemishes, acne, rosacea, seborrheic dermatitis, broken capillaries, redness around the nose.
Green is the corrector for neutralizing red tones. I use it as a spot treatment rather than across large areas - on a red blemish, around the sides of the nose, on a visible broken capillary, on red patches from rosacea or seborrheic dermatitis. Work with a small amount. You’re not trying to turn the area green, only to bring the redness down before makeup.
Important to know: if you’re dealing with rosacea, seborrheic dermatitis, or another skin condition, green corrector doesn’t treat the condition itself and doesn’t reduce inflammation. Its role is to temporarily conceal the redness as part of your makeup routine. Treatment for the skin condition itself should be managed with a dermatologist.
Yellow corrector
Suits: purplish tones, healing bruises, grayish areas.
Yellow corrector doesn’t come up much in everyday routines, but it earns its place in certain situations. Professional makeup artists use it to balance areas with a purple cast before coverage.
Lavender corrector
Suits: dull skin, skin with a yellowish tone.
Unlike the other correctors, lavender isn’t really a spot product. It brings a little life back to skin that looks tired or sallow. Not an everyday staple for most people, but useful in the right situation.
Can you mix correctors?
Yes. I don’t always stick to one color at work. A single patch of darkness can carry a blue tone and some redness at once, and in that case you can combine a few correctors - carefully, and in very small amounts. You’re after precise neutralization, not thick layers of color.
Torn between two shades? Start with the gentler one. Adding a little more corrector is easy; covering a thick layer of orange or green is not. A small, precise amount gives a more natural result and needs less concealer over it.
How to choose a corrector for your concern
Now for the real question: which corrector is right for what you’re dealing with? Instead of going off an online recommendation or a TikTok video, start by identifying the discoloration you want to neutralize.
| The concern | The right corrector | Notes |
|---|---|---|
| Mild dark circles under the eyes | Peach | Suits mainly fair to medium skin |
| Moderate dark circles | Salmon | Provides slightly stronger neutralization than peach |
| Deep dark circles | Orange | Especially suited to significant darkness and deeper skin tones |
| Red blemishes | Green | Apply only as a spot treatment |
| Redness around the nose | Green | A very thin layer |
| Rosacea | Green | Only to neutralize redness, not to treat the skin condition |
| Seborrheic dermatitis | Green | After appropriate skin prep |
| Noticeable broken capillaries | Green | In a minimal amount |
| Purplish bruising | Yellow | Depending on the color of the bruise |
| Dull or sallow skin | Lavender | Mainly suited to brightening the overall look of the skin |
| Tattoos | Depends on the tattoo’s color | Sometimes requires combining several correctors |
Corrector for dark circles under the eyes
This is what most people buy a corrector for in the first place. The mistake is assuming every case of darkness takes the same color - the depth of the darkness and your skin tone both change the answer.
Mild darkness: a peach corrector is usually enough here. The goal is to take the edge off the blue, not to lay down a thick layer of color.
Moderate darkness: here I switch to a salmon corrector. It has a bit more neutralizing power and still looks natural on most fair-to-medium skin tones.
Deep darkness: for significant blue or purple darkness, an orange corrector is more effective. Work with a small amount, and follow it with concealer in your skin tone.
My technique: a very thin layer of corrector, blended completely, then concealer in the skin tone, and only if I want to brighten the area, a second concealer slightly lighter than that. Better coverage, less product.
Corrector for blemishes and acne
When a red blemish keeps showing through, the instinct is to pile on more concealer. In most cases the issue isn’t coverage, it’s redness - which is green corrector’s territory. A very small amount brings the redness down, and you’ll need less concealer over it.
How I cover a blemish: wait for skincare to absorb, place a small dot of green corrector, blend only the edges without wiping it off the center, apply concealer in the skin tone, and set gently if needed.
What not to do: don’t spread the corrector across the whole area, don’t overload the green, and don’t rub at the product over and over. Less product, better result.
Rosacea, seborrheic dermatitis, and sensitive skin - how do you prep the skin?
Rosacea often shows up as persistent redness across the cheeks, nose, and chin, and a green corrector can help neutralize it before makeup goes on. But one thing matters just as much as the corrector: skin prep. On irritated, dry, or very sensitive skin, even the best corrector won’t look good.
How I prep skin with rosacea before makeup: gentle cleansing without scrubbing, a moisturizer suited to sensitive skin, waiting a few minutes for it to absorb, applying the corrector with gentle patting motions, and avoiding unnecessary pressure on the skin.
Seborrheic dermatitis can also cause redness, mainly around the nose, the brows, and the hairline. During a flare-up, the skin especially shouldn’t be overloaded with product. Instead of a thick layer of foundation, I go with a suitable moisturizing layer, a little green corrector on the redness only, a thin layer of foundation, and concealer only where it’s truly needed.
Important to know: a corrector doesn’t treat rosacea or seborrheic dermatitis and doesn’t reduce inflammation. Its purpose is to temporarily conceal the redness as part of your makeup. Treatment for the skin condition itself should be coordinated with a dermatologist.
Makeup during Accutane treatment
Skin during Accutane (isotretinoin) treatment behaves completely differently - drier, more sensitive, sometimes flaky. This isn’t the moment to try to solve everything with more foundation and more concealer.
Before makeup: gentle cleansing, a rich moisturizer suited to sensitive skin, waiting until the cream absorbs, small amounts of corrector, and no excess powder. Work in thin layers and even skin undergoing Accutane treatment can look more even and natural.
With any redness, ask yourself first “why is the skin red?” and only then “how do I cover it?” If the source of the redness is a medical condition like rosacea, seborrheic dermatitis, or Accutane treatment, prepping the skin matters just as much as choosing the corrector. A quality corrector can improve the look of your makeup, but it doesn’t replace treating the skin itself.
Orange corrector - what it’s for and who it suits
Orange is one of the strongest shades in color correcting, which is exactly why it needs a careful hand. It’s built to neutralize especially deep, pronounced under-eye darkness, mainly on medium to deep skin tones, where that darkness tends to read as deep brown-purple rather than the blue-gray you see on fair skin. Peach and salmon handle mild-to-moderate darkness. Orange takes on significantly stronger discoloration.
The most important rule with orange corrector: less is more. Keep the layer thin and localized - don’t spread it around like a cream. Too much leaves an orange-brown cast that’s hard to cover even with concealer. Always set it with concealer and a light powder afterward, so the orange stays a base layer doing color work rather than reading as a color of its own.
Corrector for pigmentation, birthmarks, and tattoos
Say the word “corrector” and most people picture dark circles under the eyes. But some of the most important work a corrector does in professional makeup is on much heavier discoloration: pigmentation, birthmarks, scars, and tattoos. Trying to cover those with foundation or concealer alone means thick layers of product that rarely look natural. The goal instead is to neutralize the color of the mark first, and only then even out the skin tone with concealer or foundation.
Why are tattoos and pigmentation harder to cover?
Under-eye darkness is a relatively subtle shift in color. Tattoos and pigmentation carry a much higher concentration of pigment, so they push through thin layers of makeup. Instead of adding more and more product, work out which color you’re trying to neutralize first.
Choosing a corrector by the color of the tattoo or mark
There’s no single color that works for every situation - the choice depends on the dominant color you can see. Blue or blue-black tattoos: an orange or peach corrector will usually suit, depending on how deep the shade and skin tone are. Reddish marks or red scars: a green corrector will usually suit. Purplish-toned marks: in some cases, a yellow corrector can be used. Brown marks (pigmentation, melasma, and sun spots): it’s important to understand that brown marks don’t always require a colored corrector - in many cases, a concealer or high-coverage product in the right shade will be enough, and when the mark also has a reddish or grayish undertone, a corrector can be added if needed.
How do I work when covering tattoos?
When I’m covering a tattoo for a shoot, a bride, or an event, I don’t start with makeup. I work in stages:
Step 1 - Identify the color: I check the dominant tone of the tattoo - blue, black, or reddish - and only then choose the corrector.
Step 2 - Corrector: I apply only a thin layer. The goal isn’t to hide the tattoo at this stage - it’s to reduce its contrast.
Step 3 - Coverage: Once the corrector has set, I add a high-coverage product in a shade that matches the skin - sometimes concealer, sometimes a professional product designed for intensive coverage.
Step 4 - Building layers: If the tattoo is still visible, I add another layer. I almost never try to achieve full coverage in a single layer - thin layers usually give a more natural, longer-lasting result.
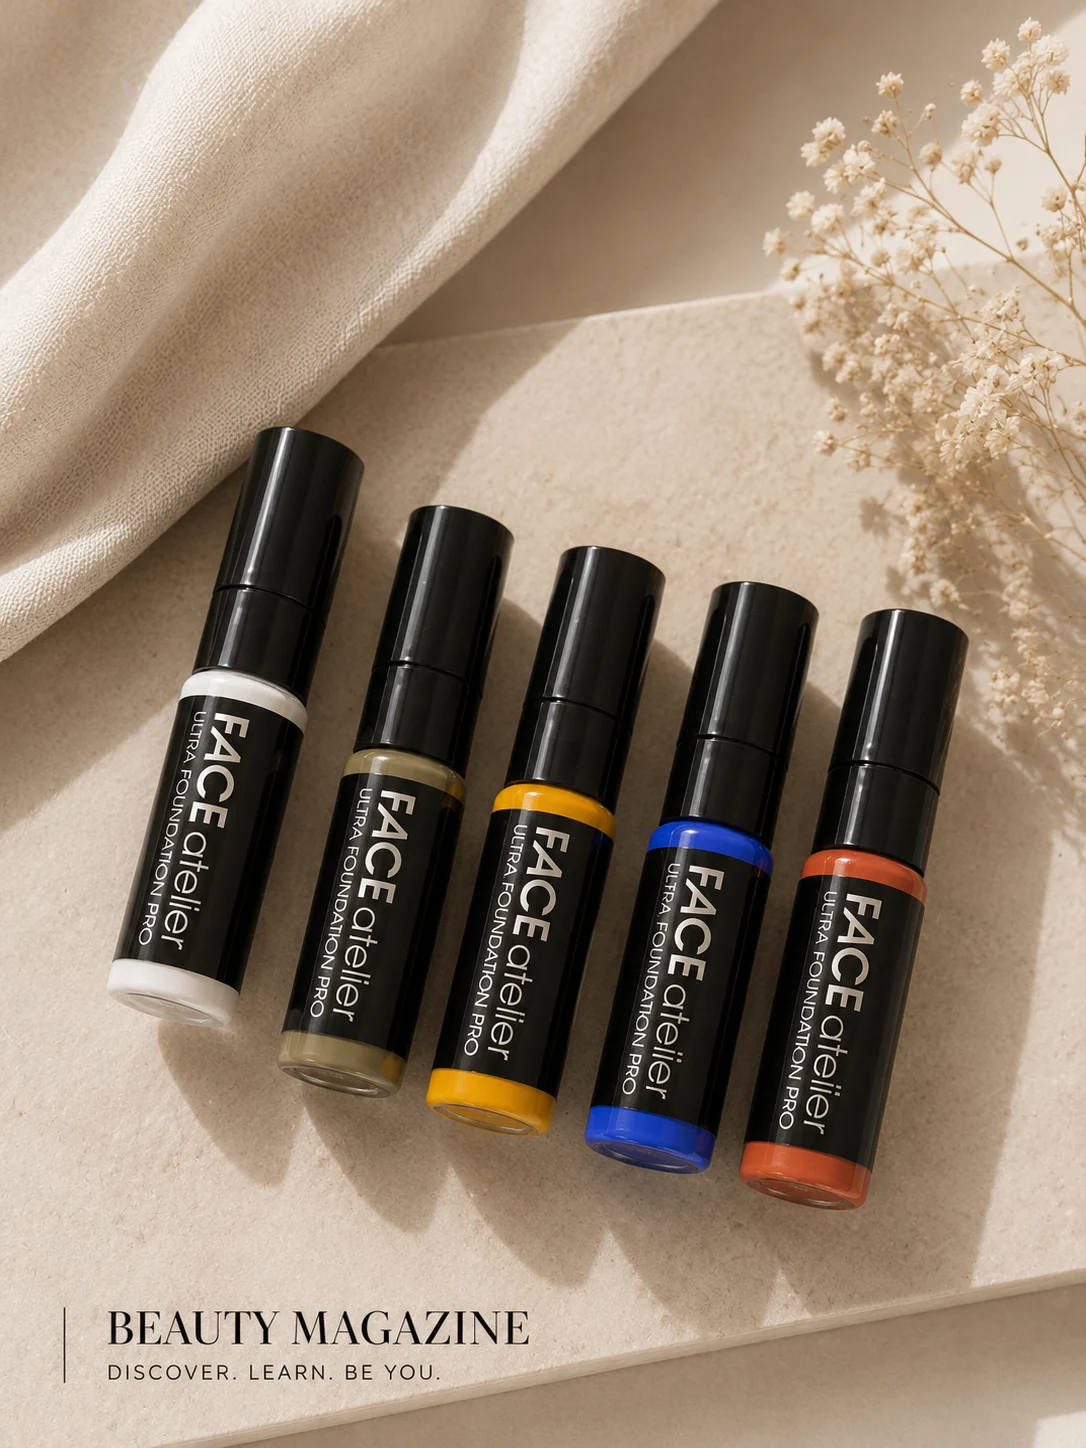
For tattoos, birthmarks, significant pigmentation, scars, or especially stubborn discoloration, I often work with Kryolan Dermacolor - a professional product line with a very high concentration of pigments, developed specifically for situations where a regular concealer doesn’t provide the coverage level needed. One of its advantages is that you can use the product as-is for maximum coverage, or mix it with Dermacolor Mixing Liquid for a thinner texture, depending on the area and the result you’re going for.
Can you achieve invisible coverage?
In most cases, yes - as long as expectations stay realistic. The result depends on the size of the tattoo or mark, its color, how deep the pigment sits, skin type, lighting conditions, and the distance it’s viewed from. In professional photography or at an event, the coverage can be genuinely impressive. In strong daylight or up close, you may still catch the texture of the makeup or a hint of the discoloration underneath.
The most common mistakes in covering tattoos and pigmentation: trying to cover everything in one layer; choosing a corrector by brand instead of by the color of the tattoo or mark; using too much product at once; skipping drying time between layers; and rubbing the area while blending instead of patting gently.
When I’m covering a tattoo or significant pigmentation, I don’t ask “how do I hide this?” I ask “how do I make it less noticeable with each layer?” Heavy discoloration almost always looks better when you work gradually: neutralize the color, cover, then build thin layers as needed.
My recommended correctors - a professional review
I’ve worked with a wide range of correctors over the years, from luxury brands to professional products built for stage, bridal, and photography makeup. To be clear, there’s no “best corrector.” The right choice depends on the discoloration, your skin type, the coverage level you want, and the way you work. These are the products I know well from my professional work, and the situations I choose each one for.
Bobbi Brown Skin Corrector Stick
Especially suited to: dark circles under the eyes, fair to medium skin, everyday use, bridal makeup.
Bobbi Brown was one of the first brands to popularize the idea of the corrector, and this is still one of the best-loved products in the category. The creamy formula blends easily, settles naturally into the skin, and suits the under-eye area especially well. I love it when the goal is neutralizing dark circles without building a heavy layer.
Advantages: a pleasant, flexible texture, a wide range of peach and salmon shades, easy to blend, suits layering very well.
Less suited when: you need to cover tattoos, or need especially intensive coverage.
Make Up For Ever HD Skin Color Corrector
Especially suited to: dark circles, redness, everyday use, a natural look.
One of the lighter formulas in the category. I love it when I want skin to look very natural, almost as though there’s nothing on it at all. It blends beautifully with most concealers and never feels heavy.
Advantages: a thin formula, natural look, very easy to blend, suits professional work.
Huda Beauty FauxFilter Color Corrector
Especially suited to: noticeable dark circles, anyone looking for high staying power.
Huda Beauty built this one with a relatively high pigment concentration, so a very small amount is often enough. Start with a little and add more only if you need it.
Advantages: high coverage, long-wearing, a good range of shades.
NYX Pro Fix Stick Correcting Concealer
Especially suited to: getting started with correctors, spot use, an accessible budget.
If this is your first time trying correctors, it’s a good place to start. The stick format is especially convenient for spot-neutralizing blemishes and redness.
Advantages: easy to control, travel-friendly, an accessible price.
L.A. Girl Pro Conceal Color Corrector
Probably one of the best-known correctors in beauty. The price is accessible and the range of correction colors is very wide. I know plenty of makeup artists who keep it in their kits, mostly for what it delivers at that price.
Advantages: a large color range, an accessible price, suits learning and practicing.
Important to know: the formula behaves a little differently from other brands, so test how much you need and how you blend it before an important event.
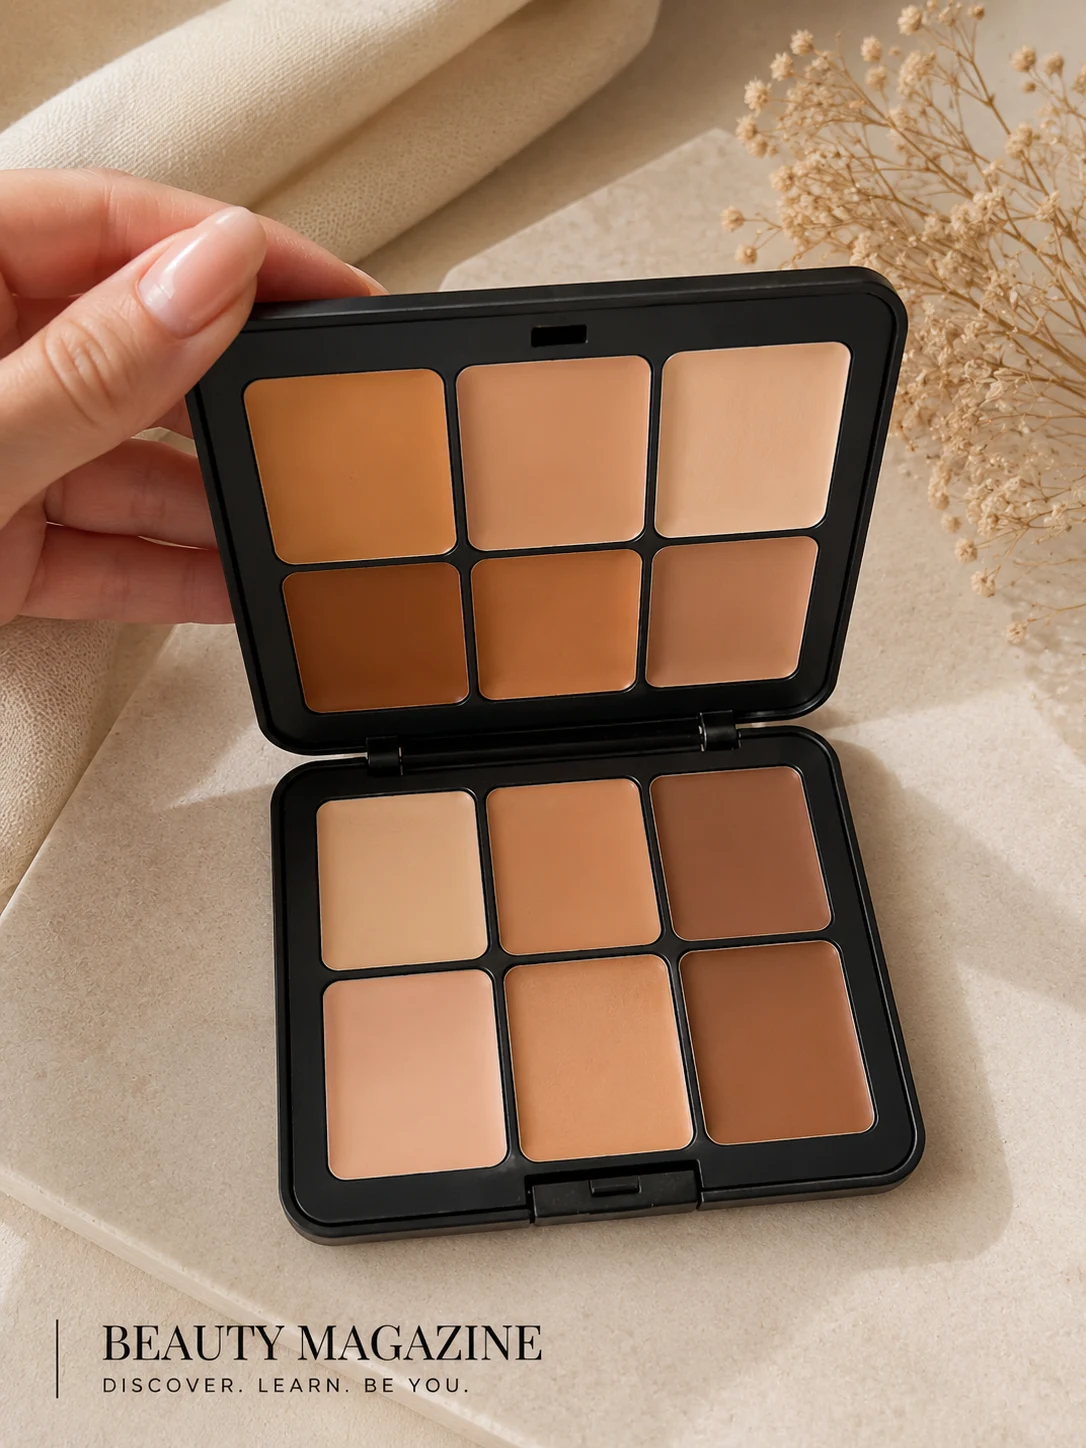
MAC Studio Fix Conceal and Correct Palette
Especially suited to: professional makeup artists, anyone who likes mixing shades, working across a wide range of clients.
MAC’s corrector palette lets you combine several shades in the same job, which is a real advantage when you’re working across different clients or chasing an especially precise match.
Advantages: the ability to mix colors, a wide range, a professional solution for working with different skin types.
Kryolan Dermacolor
Especially suited to: tattoos, birthmarks, significant pigmentation, scars, professional work.
Dermacolor isn’t only for under-eye correcting. It’s a complete professional system for intensive coverage, and it’s what I choose when the coverage has to be exceptional.
Advantages: a very high pigment concentration, high staying power, suits complex situations, the texture can be adjusted based on how you’re working.
At a glance
| If I need… | My choice |
|---|---|
| Mild dark circles under the eyes | Bobbi Brown Skin Corrector Stick |
| Moderate dark circles | Make Up For Ever HD Skin Color Corrector |
| Deep dark circles | Huda Beauty FauxFilter Color Corrector |
| Spot redness | NYX Pro Fix Stick Correcting Concealer |
| Professional work with a range of shades | MAC Studio Fix Conceal and Correct Palette |
| Tattoos, birthmarks, and significant pigmentation | Kryolan Dermacolor |
Do you have to buy an expensive product? Absolutely not. What matters is choosing the right color and using the right amount of it. A luxury corrector in the wrong shade won’t beat an affordable one chosen correctly. In most cases the biggest difference comes from technique, skin prep, and how the corrector works with your concealer and foundation - not from the price of the product.
If this is your first time using a corrector, don’t buy four different colors. Start with the one that addresses the concern bothering you most. If that’s under-eye circles, choose peach, salmon, or orange depending on how deep the darkness runs. If it’s redness, start with green. In most cases, that’s all you’ll need.
How to use a corrector, step by step
Even the best corrector won’t look natural if you use too much of it or apply it in the wrong order. The whole advantage of a corrector is that it lets you wear less concealer and less makeup overall - but only if you work in thin layers and take your time.
Step 1 - Prep the skin
Prep matters before any of this. On dry, irritated, or flaking skin, even the highest-quality corrector won’t look good. I always start with gentle cleansing, a moisturizer suited to the skin type, and a few minutes of patience while it absorbs. When the skin is balanced and hydrated, makeup sits better and lasts longer. On dry or mature skin I’m especially careful not to rush, which keeps the corrector from settling into fine lines.
Step 2 - Identify the color change
Before the corrector even comes out of the kit, I stop for a moment and look at the skin: what color am I actually seeing? Is it blue darkness, purple darkness, redness, pigmentation, or a broken capillary? Only once I’ve named it do I choose the corrector. I never start with a product. I start with a color.
Step 3 - Use a small amount of product
This is probably the mistake I see most. People take far more product than they actually need. A very small amount is usually enough - you can always add more, and taking excess off is much harder. Two thin layers instead of one thick one will almost always look more natural.
Step 4 - Apply only where needed
Corrector isn’t a whole-face product. It goes only where there’s actual discoloration. With under-eye circles, I don’t spread it across the entire area I’d normally conceal - only the darkest part of it. Same principle for blemishes, broken capillaries, and redness around the nose.
Step 5 - Blend gently
I almost always blend with gentle patting motions, using a finger, a small brush, or a damp sponge. The tool matters less than the motion, and the motion is never rubbing. Rub, and a large portion of the corrector comes straight back off the skin.
Step 6 - Pause and look
Most people skip this one. Before you reach for the concealer, stop and look. If the corrector has done its job, the discoloration should be noticeably softer. It doesn’t have to be gone - a bit of visible darkness or redness at this stage is completely fine.
Step 7 - Apply concealer
Now the concealer comes in. Its job isn’t to neutralize color anymore, it’s to even out the skin tone, which is exactly why you can usually get away with less of it. My order: corrector, blend, concealer in the skin tone, and only if I want to brighten the area, a slightly lighter concealer on top.
Step 8 - Set only when needed
Not every area needs powder. When I do set, I use a very small amount. You’re improving staying power, not adding another layer of product - too much powder emphasizes fine lines, dryness, and skin texture.
If the darkness is still visible after all of that, more concealer usually isn’t the answer. I check first: did I choose the right corrector color? Did I use enough product? Did I over-blend and wipe most of it away? Only then do I decide whether another layer is needed.
Which tool should you use? There’s no single right answer, and every tool has its advantages. A finger warms the product and helps it set, which suits the under-eye area especially well. A small brush works precisely, which suits blemishes, broken capillaries, and pigmentation. A damp sponge blends gently and lifts excess product, which suits a natural finish. Technique still matters more than the tool you use it with.
The workflow in short: cleanse, moisturize, choose the corrector by the color you’re neutralizing, apply a thin layer, blend with patting motions, apply concealer in your skin tone, foundation (if that’s where it falls in your routine), and set gently as needed. There’s more than one accepted order - some makeup artists apply foundation before concealer, some concealer before foundation, depending on the formula and the coverage level they want. The principle doesn’t change: the corrector comes before the coverage layer meant to even out the skin tone.
If there’s one thing years of work have taught me, it’s this: don’t try to erase the concern at the corrector stage. The corrector is only meant to reduce the discoloration. Once it’s done that, the concealer and foundation blend in far more naturally. Two thin layers almost always beat one thick one, and the result is cleaner, longer-lasting, and prettier up close.
Five common mistakes when using correctors
Even the highest-quality corrector falls apart if you use it wrong. These are the mistakes I run into most in my work.
1. Using a corrector when it isn’t needed
Not every bit of darkness or redness needs a corrector. With no significant discoloration to neutralize, concealer or foundation alone is often enough, and an unnecessary layer only weighs the makeup down.
2. Choosing the wrong color
Probably the most common mistake of all: orange on very fair skin, green on an area that isn’t red, peach when the darkness is very deep. Choosing the right color matters more than choosing the right brand. A recommendation you saw online is no substitute for understanding the discoloration you’re trying to neutralize - a corrector that worked for a particular YouTuber won’t necessarily work for you.
3. Using too much product over too large an area
It’s tempting to think that more corrector will give you more coverage. In practice the opposite usually happens: excess product settles into fine lines, looks heavy on the skin, and makes it harder for the concealer on top to do its job. Spreading corrector across the entire under-eye area or the whole cheek is just as common a mistake, when in most cases it only belongs where there’s actual discoloration. A thin, targeted layer will give you a better result.
4. Skipping the concealer
A corrector doesn’t replace concealer. It neutralizes the discoloration, and the coverage step with concealer or foundation comes afterward. That’s why you may still see a little darkness or redness once the corrector is on, and why that’s completely normal. It isn’t there to erase the concern, only to neutralize it so the concealer and foundation can cover more effectively.
5. Trying to achieve full coverage in one layer
In professional makeup we almost always work in thin layers. One thick layer of corrector looks less natural than two thin ones built gradually. And when the coverage isn’t there, don’t rush to add more product - check first whether you chose the right corrector color, whether you put it in the right place, and whether you used the right amount. That’s usually where the real problem is.
Frequently asked questions
Does everyone need to use a corrector? No. With no significant discoloration to deal with - dark circles, redness, noticeable pigmentation - concealer or foundation alone is often enough.
What goes on first - corrector or concealer? In most cases you start with the corrector, which neutralizes the discoloration. Concealer or foundation comes afterward to even out the skin tone.
Can you use a corrector without concealer, or without makeup? Yes, in certain cases. If the correction is very subtle and there’s enough foundation over it, you may not need concealer at all. And if you only want to soften darkness or redness in one spot, corrector followed by concealer works fine without foundation over the whole face.
Does a corrector replace concealer or makeup? No. A corrector neutralizes discoloration in a specific spot, while concealer and foundation even out the skin tone across the face. Different jobs, and in most cases they’re used together.
Do you have to use concealer after a corrector? Not always. If your foundation gives you enough coverage, you may not need concealer on top. It depends on the coverage level you want and the look you’re going for.
Do you apply corrector before or after primer? After. If you use a primer, in most cases it goes on before the corrector. Then comes the corrector, and finally the coverage layer.
Does corrector settle into fine lines? Like any cream product, corrector settles into fine lines when you use too much of it. Thin layers and proper skin prep keep that in check.
Does corrector suit mature or sensitive skin? Yes. On mature skin, using a corrector well actually lets you wear less concealer, which looks more natural. On sensitive skin, choose a gentle formula made for it and avoid rubbing as you apply.
Does green corrector treat redness, rosacea, or seborrheic dermatitis? No. It temporarily conceals the redness as part of your makeup, but doesn’t treat the medical condition itself.
Can a corrector cover a tattoo? Sometimes, yes - especially combined with professional coverage products and built in layers. How much coverage you get depends on the tattoo’s color, its size, how deep the pigment sits, and technique.
Should you set a corrector with powder? Usually you set the final layer of makeup rather than the corrector itself, and only with a small amount. Excess powder emphasizes texture and fine lines, especially under the eyes.
How long does a corrector last, and can you mix two correctors? Staying power varies from product to product, and it also depends on skin prep, skin type, and how the makeup is set. And yes, you can mix correctors - professional makeup artists do it all the time to neutralize more complex discoloration precisely.
Does corrector suit men, or the eyelids? Yes to both. The principles of color correcting don’t change with gender. On eyelids, a corrector can neutralize darkness or redness, though sometimes an eye primer is the better tool, depending on what you’re after.
Can a corrector cause breakouts? There’s no single answer here. If a particular product doesn’t suit your skin, or you don’t remove your makeup thoroughly at the end of the day, a reaction can happen. With acne-prone or sensitive skin, choose products suited to your skin type and test them on a small area first.
Why is the corrector still visible after I apply concealer? Either the shade was wrong, too much corrector went on, or the concealer isn’t giving enough coverage. Often the fix is less product in a more precise shade.
How do I know if I chose the right corrector? Once concealer or foundation goes over it, the discoloration should look noticeably softer without the corrector itself showing through. If you can still see a green or orange-brown cast, either the shade isn’t right or too much product went on.
Glossary
Color Correcting - a makeup technique that uses opposite colors to neutralize discoloration in the skin before the coverage step.
Corrector - a makeup product meant to neutralize discoloration such as dark circles, redness, or pigmentation before concealer or foundation goes on.
Concealer - a product meant to cover and even out skin tone after the color has been corrected.
Color Neutralizing - using an opposite color to make another color less visible, for example green to neutralize redness or orange to neutralize blue darkness.
Peach Corrector - a peach-shade corrector usually suited to light-to-moderate darkness, mainly on fair to medium skin.
Salmon Corrector - a pinkish-brown corrector that gives slightly stronger neutralization than peach and suits moderate darkness.
Orange Corrector - a corrector meant mainly for deep darkness or noticeable blue discoloration, especially on medium to deep skin tones.
Green Corrector - a corrector meant to neutralize redness, such as around the nose, on blemishes, or from rosacea.
Lavender Corrector - a light purple corrector that helps balance dull or sallow-toned skin and gives it a fresher look.
Coverage - how much a makeup product hides discoloration, blemishes, or unevenness in skin tone.
Finish - the final look of the product on the skin, such as matte, natural, or radiant.
Layering - building several thin layers of product instead of one thick one, for a more natural, longer-lasting result.
Corrector isn’t a product that has to live in every single makeup bag, but used in the right situation, it can change the final result completely.
Instead of hiding dark circles, redness, or pigmentation under thick layers of concealer, you neutralize the discoloration first and even out the skin tone second. That usually means less product, a more natural look, and better staying power. The key is to choose the corrector by the color you’re actually trying to neutralize, not by the brand or by an online recommendation. Once that principle clicks, the choice gets much simpler.
I always say the best makeup isn’t the one that covers the most, it’s the one that still looks like skin up close. A corrector is a small tool, but chosen correctly and used sparingly, it cuts the need for thick layers of makeup and leaves a cleaner, more balanced, longer-lasting result.
Want to go deeper?
If you’ve made it this far, the Recommended Concealers guide will help you finish the coverage routine - how to choose a concealer by skin type, coverage level, and finish, and when it’s worth setting with powder.


