Clean brushes aren’t just a hygiene issue. They change how makeup lays down, how well you can build layers, how precisely you blend, and how the finished look reads on the face.
So how do you clean makeup brushes properly? Wet the bristles, work in dish soap or a solid soap with real cleaning power, rinse until no product or lather is left, gently squeeze out the excess water, and lay the brush flat to dry. Don’t soak the metal ferrule where the bristles meet the handle, and never put a wet brush back into a closed bag.
After years of brides, clients, and shoot days where I sometimes make up dozens of people, I’ve learned that a brush that looks clean and a brush that is clean aren’t always the same thing. Foundation, concealer, and cream products can stay buried deep between the bristles even when the brush looks light-colored from the outside.
To get its performance back, you have to clean it all the way through.
Why cleaning your makeup brushes matters
Brushes collect pigment, leftover product, oil from the skin, dust, and dirt. Regular cleaning matters whether you’re doing your own makeup at home or working professionally.
Brushes that aren’t washed regularly build up oil, dirt, and microorganisms against your skin. The American Academy of Dermatology recommends that home users wash their makeup brushes roughly every seven to ten days, and avoid sharing them with other people.
Hygiene is only half of it.
A dirty brush also changes the makeup itself. When pigment from a previous use is still in the bristles, the brush doesn’t lay down the shade you chose - it lays down that shade mixed with whatever is already stuck in there.
A light eyeshadow goes muddy, a transition turns murky, and a subtle blush lands a shade or two off from what you saw in the pan.
Clean brushes also last longer. When you don’t let layers of makeup, oil, and powder build up and harden between the bristles, a brush stays soft, flexible, and precise to work with.
Professional makeup starts with a clean brush
Professional-looking makeup takes more than good products. You have to work gently, build color in layers, and blend every transition until it looks natural.
That’s most obvious around the eyes.
For a clean look built on a brown pencil, a little bronzer, and soft blending, you can get away with a fairly small number of brushes. But once you want to build a smoky eye, create real depth, or work through several layers of eyeshadow, one brush won’t cut it.
I recommend keeping at least:
- One dense packing brush - for example, in the style of MAC’s 239.
- At least three blending brushes in different sizes.
A small blending brush works a precise area, like the outer crease or the lash line. A medium one connects the colors. A large one covers more ground and leaves a soft, airy transition.
When every brush is already loaded with pigment, that gradual build falls apart. Instead of softening the transition, the brush drops more color and leaves you patchy. Sometimes what’s missing from a look isn’t another product - it’s one clean blending brush.
How often should you clean makeup brushes?
For personal use, I’d wash thoroughly at least once a week. The general recommendation from dermatologists for personal brushes is a wash every seven to ten days.
How often you need to do it also depends on the product and on how you use the brush.
Brushes used for foundation, concealer, lipstick, or cream and oil-based products need washing more often. Those formulas work down between the bristles, build up fast, and are much harder to shift once they’ve dried.
Brushes used only for eyeshadow or powder look clean longer, but pigment and skin oil build up on them too.
Professional work is a different story. A brush that still has residue from one client never touches the next one, which means keeping a big enough kit of clean brushes and pairing quick cleanups during the day with a thorough wash at the end of it.
What should you use to clean makeup brushes?
For a thorough clean, I use dish soap or a solid soap with good cleaning power.
In my experience those break down long-wear foundation, concealer, cream products, and oily residue better than anything else. A gentle shampoo is fine for a light clean on a brush that hasn’t picked up much product, but it won’t always get to the bottom of a dense brush that’s been in foundation or concealer.
One I love is a solid Hawaiian-style soap. It’s strong, it lathers well, and it gets brushes genuinely clean.
What matters most isn’t which soap you use - it’s whether you keep going until the brush is actually clean. A brush that looks clean on the outside but still bleeds color into a towel needs another round of soap and rinsing.
How to clean makeup brushes step by step
1. Wet the bristles
Hold the brush with the bristles pointing down and wet them with lukewarm water.
Try not to let much water into the metal ferrule where the bristles meet the handle. Water working into that spot again and again breaks down the glue and loosens the head of the brush over time.
2. Add soap
Put a small amount of dish soap in your palm, or run the wet brush gently over a bar of solid soap.
There’s no need for force here. You’re not scrubbing the bristles, you’re working the soap through them and letting it break down the makeup residue.
3. Gently massage
Massage the bristles against your palm in small circles. With a flat brush you can work back and forth instead, following its natural shape.
Avoid pulling on the bristles, bending them sharply, or pressing hard enough to distort the brush’s shape.
4. Rinse thoroughly
Rinse the brush with the bristles still pointing down. Keep going until the water runs clear and no lather remains between the bristles.
With dense foundation brushes, you may need to repeat the soaping and rinsing more than once.
5. Blot out excess water
Gently press the bristles into a clean towel. Don’t twist or pull them.
Now reshape the brush with your fingers - flatten a flat brush, bring a small brush back to a point, round out a blending brush.
How to dry makeup brushes without ruining them
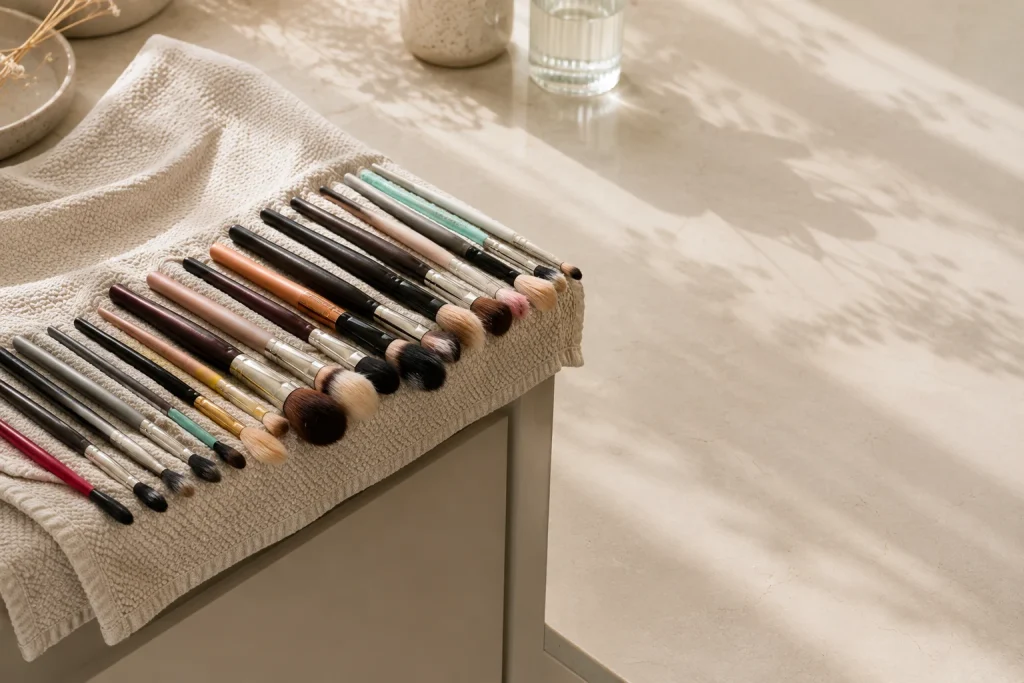
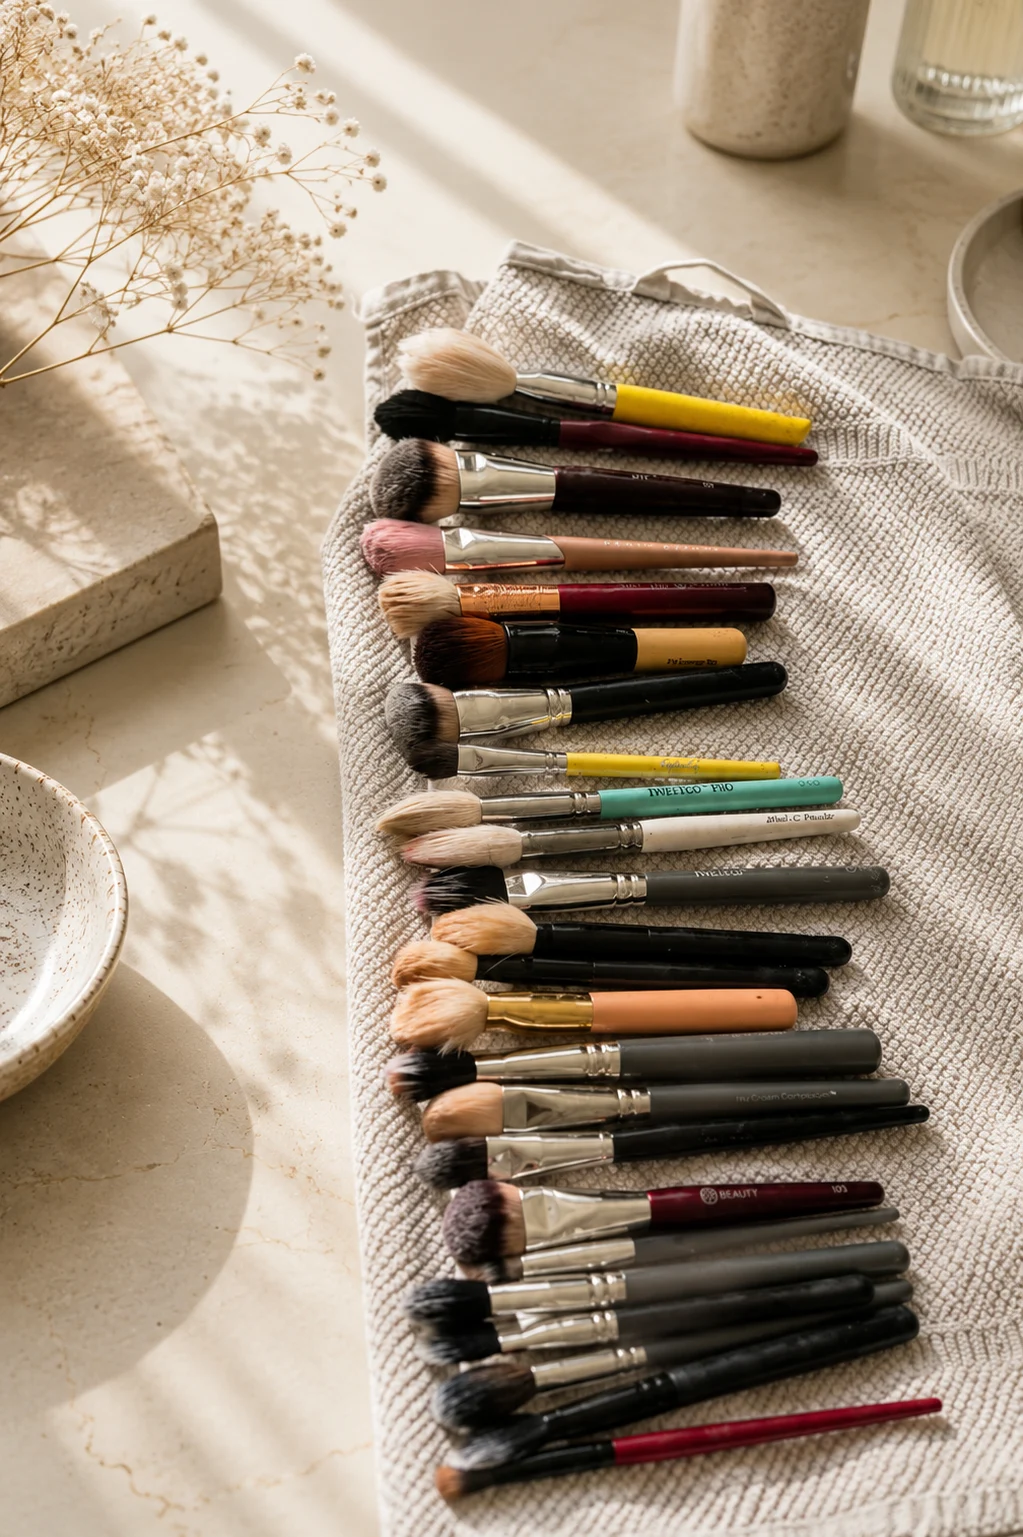
Lay the brushes flat on a clean towel with the bristles hanging just off the edge of the counter. That way air reaches them from every direction and they don’t sit damp on one side.
Don’t dry brushes standing upright with the bristles pointing up. In that position, water runs straight back down into the ferrule and the handle. The American Academy of Dermatology also recommends drying brushes flat rather than in an upright brush holder.
Don’t blast them with a hot blow-dryer, and don’t set them on a radiator or any other heat source. Heat warps the bristles, the glue, and the shape of the brush.
Thin eye brushes can dry in a few hours. Large, dense face brushes usually need a full night, and sometimes longer.
What to do when there’s no time to let brushes dry
On shoot days, when I’m making up one person after another, there’s no chance to wash every brush with water and then wait hours for it to dry.
In those situations I sometimes reach for odorless mineral spirits to strip makeup residue fast. It lifts product and pigment out of the bristles and evaporates within a short time, so the brush is dry again almost immediately and I can keep working.
Even when a brush feels dry the second I pull it off the towel, I’d rather give it a few minutes - until the solvent has fully evaporated, the smell is gone, and there’s nothing left on the bristles.
It’s important to be clear that this is a flammable solvent, not a regular skincare or beauty product. Follow the instructions on the product’s packaging, work in a ventilated space, away from flame, heat, and sparks, and avoid contact with your eyes and skin. Solvents in this family can cause irritation, and their fumes aren’t meant to be inhaled.
A quick clean doesn’t replace a thorough wash, either. It gets pigment out and puts a brush back into rotation fast, but the full kit still gets washed properly at the end of the day.
Does a dedicated brush cleaner actually clean better?
Not necessarily.
There are plenty of liquid and spray brush cleaners on the market, and they’re genuinely convenient when you want to switch between two eyeshadow shades in a hurry. But a quick cleanser isn’t always enough for a brush that’s saturated with foundation, concealer, or a cream product.
MAC’s brush cleaner, in my experience, is too diluted and doesn’t get brushes anywhere near as clean as professional work requires. It’ll pull a little pigment off the outside of the bristles, but when I need to know the bristles are truly clean, I go back to a thorough wash with soap.
That’s my own take, based on working with the product. Other makeup artists may use it differently, or prefer it for a light clean between colors.
Should you condition your makeup brushes?
Once a week, after washing, I like to run a small amount of conditioner through the bristles to keep them soft and pleasant to use.
There’s no need to overdo it. Conditioner goes on the bristles only, sits for a moment, and gets rinsed out thoroughly until there’s no slip left.
Some synthetic brushes don’t need it at every wash. A heavy coating left on the bristles can actually make them pick up pigment less well, so use a small amount and see how the brush responds.
The mesh sleeve worth hanging on to
New brushes often arrive in a small mesh sleeve that holds the bristles in place. Most people throw it out the moment they open the packaging, but it’s one of the most useful things in the box.
You can also buy brush mesh sleeves separately on sites like AliExpress and at makeup-supply stores. After washing and initially reshaping the bristles, gently slide the sleeve back on in the right direction.
The sleeve keeps the bristles from splaying out and holds the brush’s shape over time. That matters most for blending brushes, precision brushes, and face brushes that have to keep an exact shape.
A brush that holds its shape keeps working precisely - a small brush keeps blending a small area, a flat brush keeps laying color down in a concentrated line, and a blending brush doesn’t slowly turn into a shapeless ball of bristles.
Common mistakes when cleaning makeup brushes
The most common one is soaking the whole brush in a bowl of water. There’s no need for it, and the water works its way deep into the joint between the bristles and the handle.
The second is stopping as soon as the first lather disappears. A dense brush can still be holding layers of makeup deep between the bristles, so keep going until the water runs completely clear.
Drying in a closed bag or a drawer is a mistake too. A brush has to be completely dry before it goes back into storage.
And don’t try to save time by scrubbing hard. A thorough clean doesn’t have to be a rough one. The soap is what breaks the makeup down - your hands should be working gently.
A clean brush changes the whole makeup look
We’re quick to spend on new makeup, a new eyeshadow palette, the product that promises a perfect blend. Sometimes the upgrade isn’t another product at all - it’s taking better care of the tools you already own.
A clean brush lays down color more precisely, lets you build layers without accidentally mixing shades, and helps you achieve softer, more professional-looking transitions.
Regular cleaning also keeps your brushes nicer to work with, keeps the kit organized, and stretches how long you get to enjoy them.
Professional makeup isn’t only about the products you choose. It’s about how you work with them, and that starts with a clean brush.
FAQ
How do you clean makeup brushes at home?
Wet the bristles with lukewarm water, work in dish soap or a solid soap, massage gently, and rinse until the water runs clear. Then blot out excess water, reshape the bristles, and lay the brushes flat to dry.
What’s the best thing to clean makeup brushes with?
For a thorough clean on foundation, concealer, and cream products, I’d use dish soap or a solid soap with good cleaning power, and rinse until no product or lather is left between the bristles.
Can you clean makeup brushes with dish soap?
Yes. Dish soap is especially good at breaking down oily residue from foundation, concealer, and cream products. Use a small amount, massage gently, and rinse well without soaking the joint between the bristles and the handle.
How often should you clean makeup brushes?
For personal use, wash thoroughly about once a week. Brushes used for liquid or cream products need it more often. In professional work, a brush that still has residue from one client never touches the next.
How do you dry makeup brushes?
Lay the brushes flat on a clean towel, with the bristles hanging slightly off the edge of the table. Don’t dry them standing upright with the bristles facing up, and don’t put a wet brush back into a closed bag.
How long does it take for makeup brushes to dry?
Thin eye brushes can dry in a few hours. Large, dense face brushes usually need a full night, sometimes longer. Make sure they’re completely dry before you use or store them.
Does a quick brush cleaner replace washing with soap?
No. A quick cleaner pulls pigment out and gets the brush back in your hand fast, but it doesn’t replace a thorough wash with soap and water. At the end of the day, brushes get washed properly and left to dry completely.
Should you use conditioner on makeup brushes?
A small amount now and then keeps the bristles soft. Apply it to the bristles only and rinse well, so nothing is left behind to interfere with how the brush picks up product.